Create Your First Project
Start adding your projects to your portfolio. Click on "Manage Projects" to get started
Deck Box
Project type
DIY Storage Solution
Date
2023
Material
ETB Insert
Difficulty Level
Medium
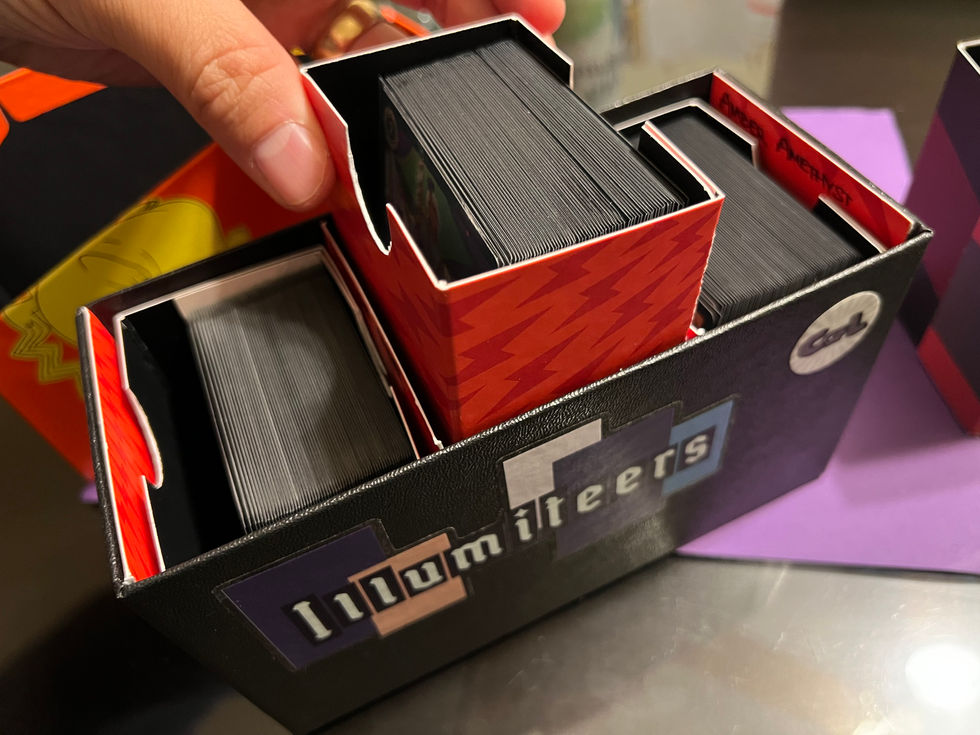
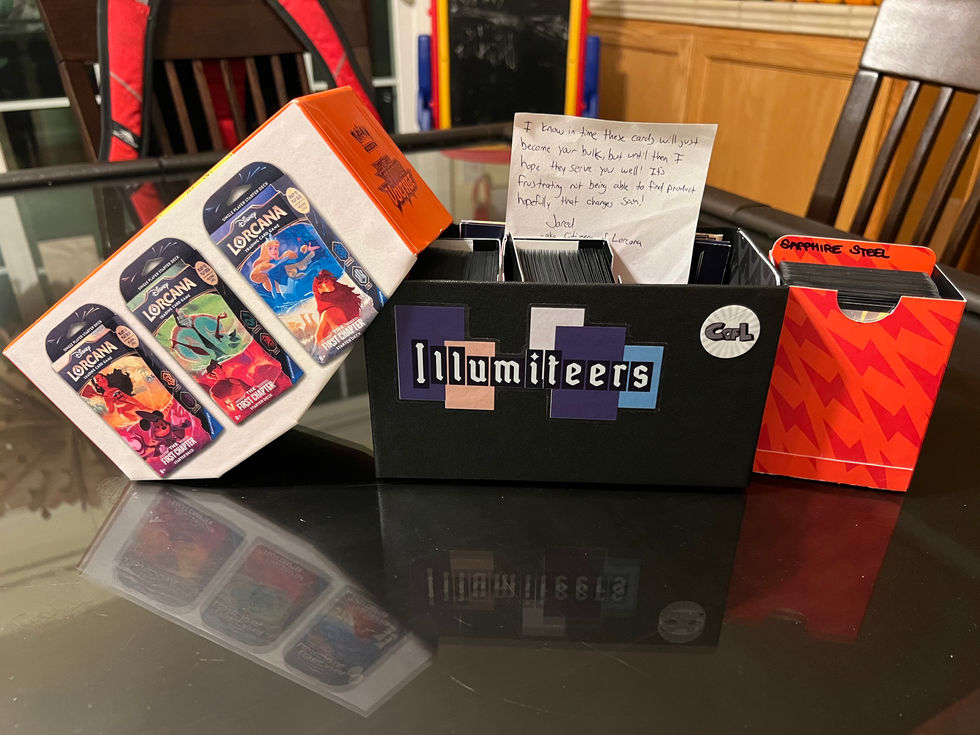
This one's more involved than the box dividers, but also more rewarding. Put an end to squeezing a section of cards to get it out of a box.
This calls for half an ETB insert. You'll need:
• a straightedge, preferably two
• a box cutter
• scrap cardboard (e.g., an empty cereal box)
• a pencil
• glue (e.g., Elmer's white glue, hot glue, rubber cement)
• rubber bands
• (optional) a quarter, if you want a thumb cutout
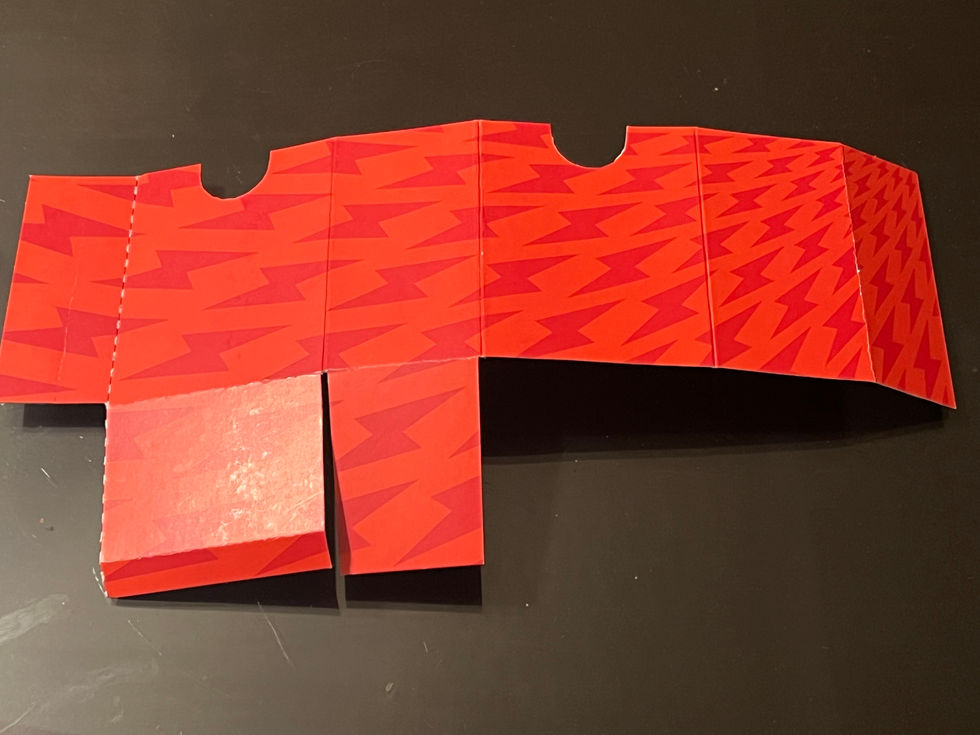
1. Flatten out the ETB insert, prying apart the glued section.
2. Cut the ETB insert in half.
3. Take a sleeved deck (or stack of sleeved cards) and measure its thickness. The ETB insert has some natural folds to it; if you like that sizing, it's less work. Yields a bigger box (~100 cards), three of which can fit into the ETB.
4. Plan out the folds with the pencil and straightedge. Don't forget the side flap and bottom flaps, so there's something to glue together. I like for any flaps to be on the outside of the box rather than the inside, so cards getting put in don't get stuck on the flaps.
5. Crease the inside of each fold with the second straightedge or the back of the blade.
6. Cut away the excess.
7. If you want a thumb cutout, trace the quarter and cut along it at the top edges of the front and back of the box.
8. Fold the box around the sleeved cards, and glue. Secure with rubber bands, allowing the glue to dry without movement.


